You can create a workflow in a few minutes. Not sure what it is yet? Read What are workflows? first.
Do you want to use labels in your workflow? Then create them first via Settings > Labels.
Step by step
Go to Settings > Workflows and click “Add workflow”.
Give the workflow a clear name, so you can easily find it later. With the “Active” switch you decide whether the workflow takes part.
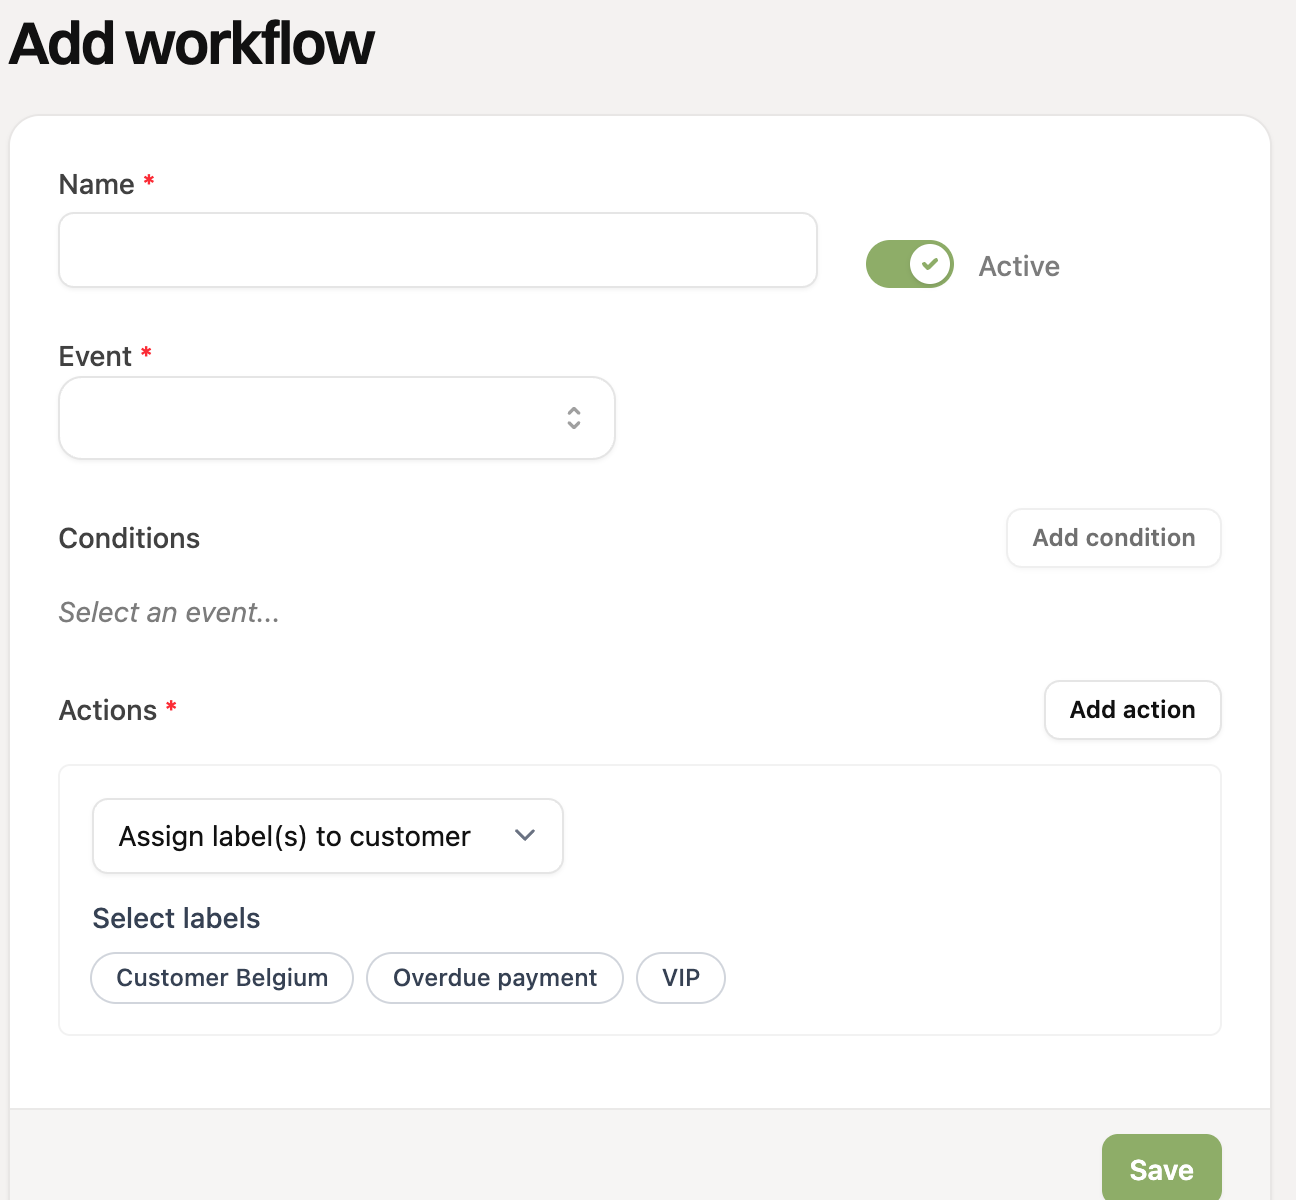
Under “Event”, choose when the workflow should start, for example “Payment paid”.
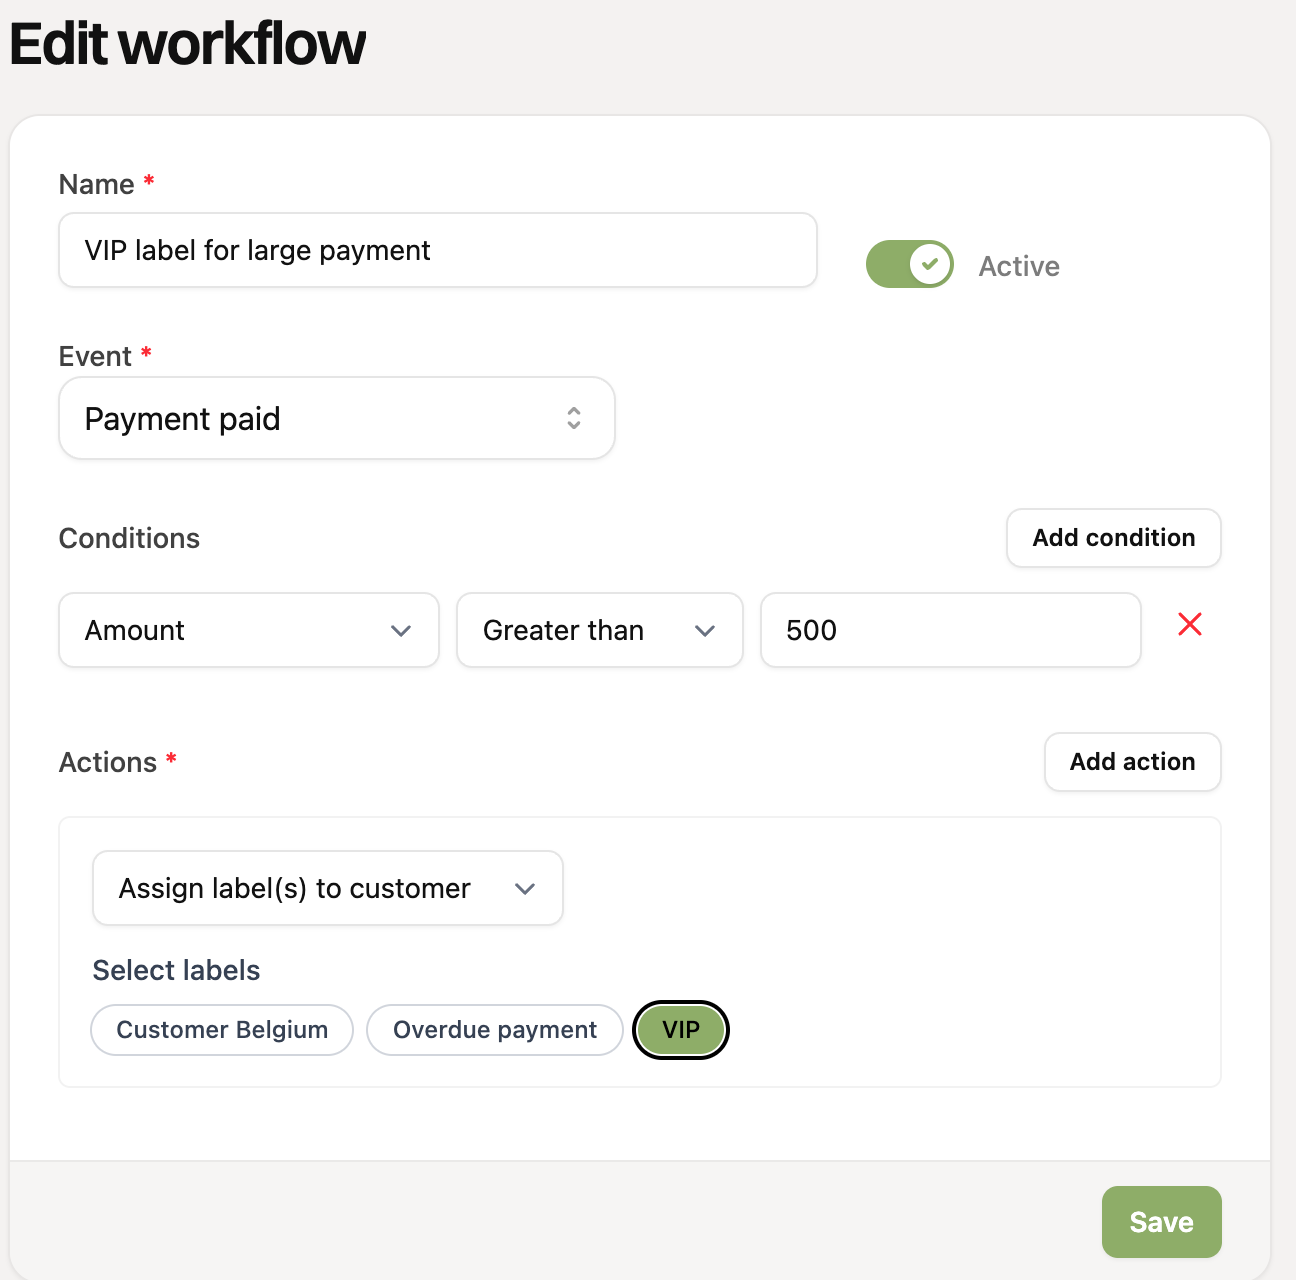
If needed, add conditions with “Add condition”. Choose a field (for example “Amount”), an operator (for example “Greater than”) and enter a value. If you add multiple conditions, all of them must be met before the workflow runs.
Under “Actions”, add at least one action with “Add action”. Choose the action and fill in the related details, for example the labels you want to assign. Do you have multiple actions? They run from top to bottom. Drag an action with the three-line icon to change the order.
Click “Save”.
Sending an email
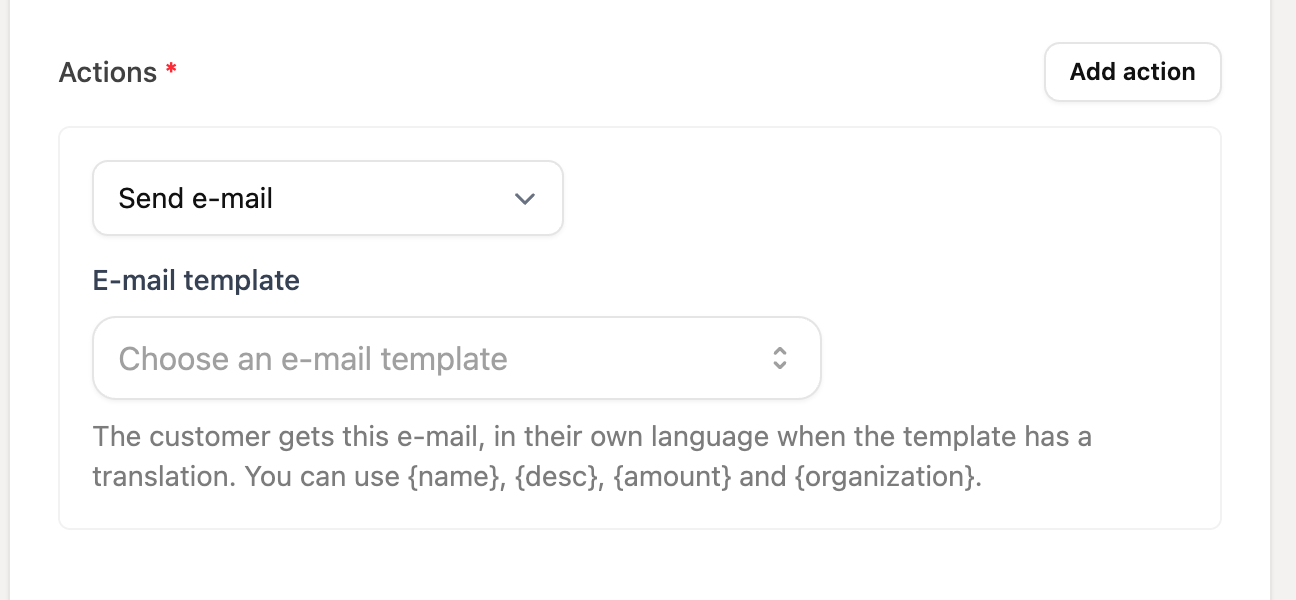
Under “Add action”, choose “Send e-mail” and select an email template. The customer receives the email in their own language, if the template has a translation. In the template you can use {name}, {desc}, {amount} and {organization}. You need a template first, which you create under Settings > Templates.
Managing workflows
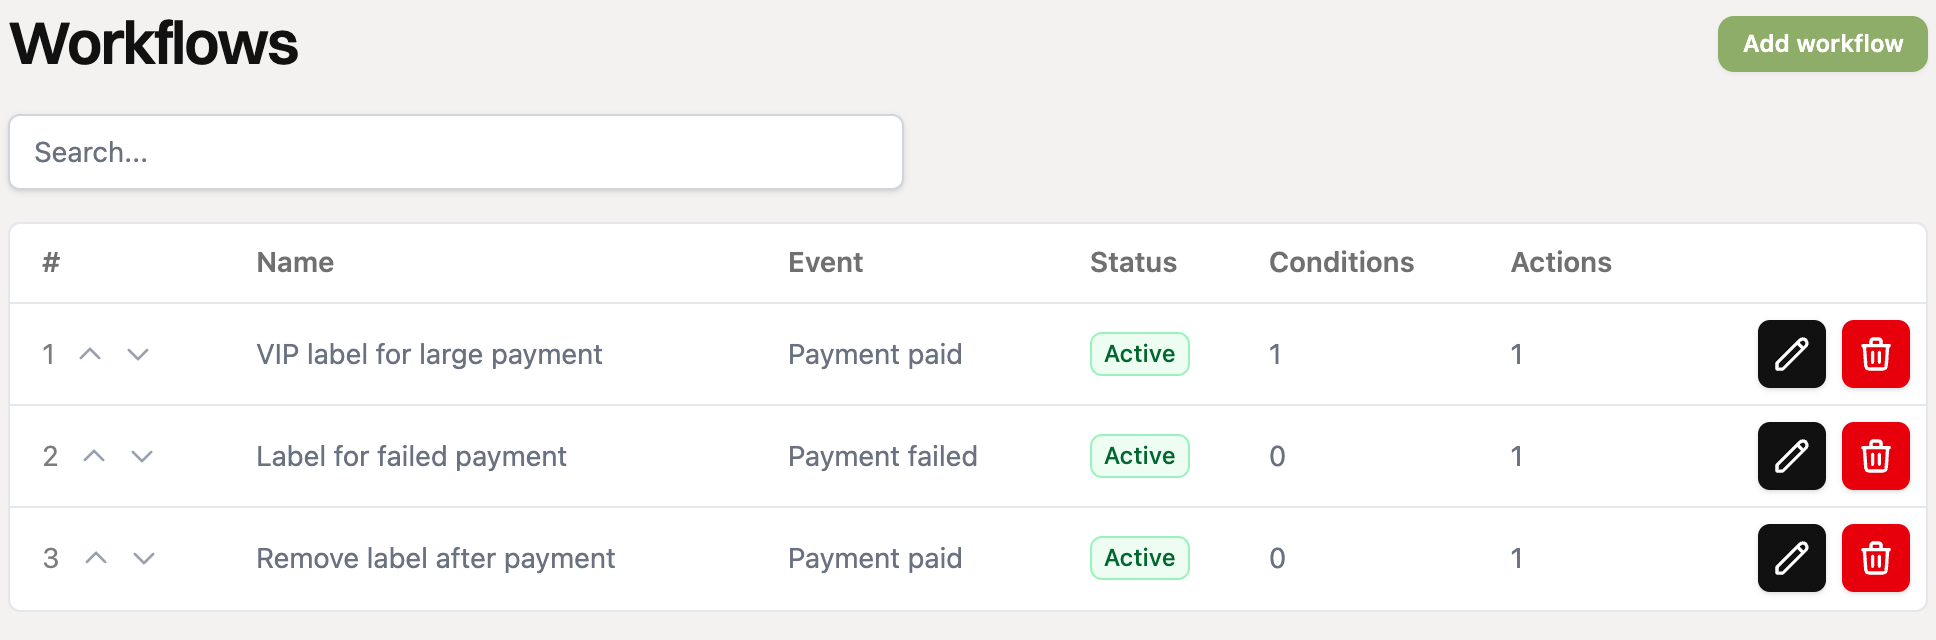
Order: workflows run from top to bottom. Use the arrows in the overview to move a workflow up or down. This is mainly useful if one workflow assigns a label that another workflow looks at.
Turning off: switch “Active” off if you do not want to use a workflow for a while. The workflow is kept.
Deleting: use the trash icon in the overview, or “Options” on the workflow page.
A workflow runs at the moment the event takes place. Existing payments, customers or subscriptions are not changed afterwards.
You can read everything you can set up in Which events, conditions and actions can I use in workflows?. For inspiration, see the workflow examples.